A How-To on Trellising

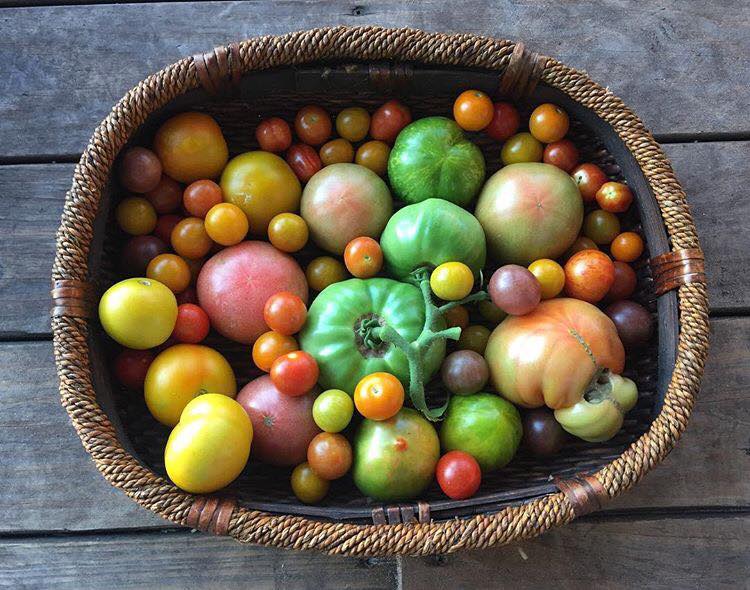
As the days get longer and temperatures climb, the garden starts to stand up tall. As tomato vines sprawl and peppers become heavy, crops benefit from a little support.

In the garden, we find it advantageous to trellis any climbing, viney crops like peas, pole beans, and cucumbers, or crops that bear heavy fruits like eggplant, peppers, and tomatoes. Trellising helps keep crops upright, creates better airflow, and reduces disease pressure. It also makes it hard for any ground dwelling critters to climb up and eat fruits and leaves. Supporting these crops also makes it easier to see and harvest the fruits, buttresses plants from high winds, and keeps their stems out of pathways.

TRELLISING FOR CLIMBING CROPS

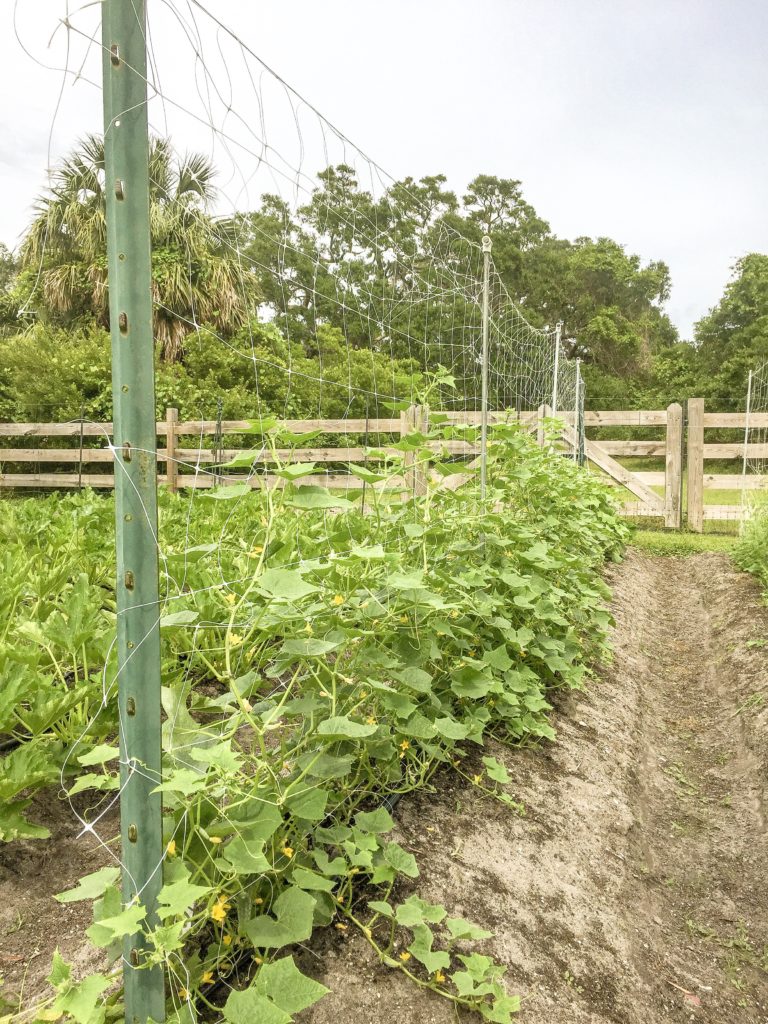
Trellising is all about timing. For climbing crops like cucumbers, beans, and peas, setting up a trellis system while the crops are young or just emerging from the ground is best. For these crops we use a plastic netting, but hog panels or welded wire works well too. Start by pounding 6-feet-long t-posts or sturdy stakes in the ground every four feet. Then, attach the netting to the stakes by either weaving it onto the posts or tying it with wire. Make sure there is tension from post to post to ensure a sturdy trellis. Installing this while the plants are young will encourage them to train up the netting right away. If not, the vines will begin to sprawl on the ground and you’ll have to manually train them to climb up the netting.

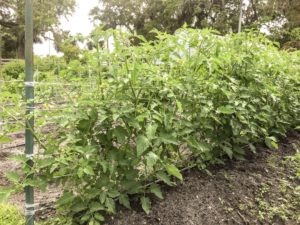
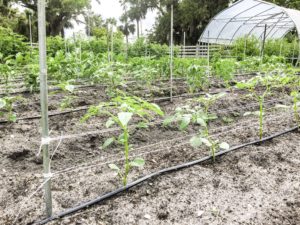
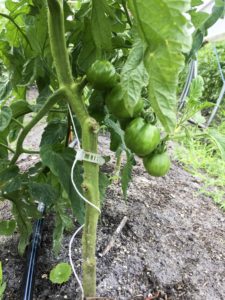
FLORIDA WEAVE TRELLISING

For crops like tomatoes, peppers, and eggplant, we like to wait until they are about a foot tall to start adding any support. For these crops we use a system nicknamed the “Florida Weave,” but also known as a Basket Weave. Like the previous trellis, you’ll start by pounding 6-feet-long posts every 4 feet. Using a polypropylene twine (you can purchase at Johnnyseeds.com or at a local feed store), start at the first post, wrap the twine around the post several times about six inches above the ground and tie a knot. From your knot, take the rest of the twine to the next post and wrap it around a few times making sure the string is somewhat level and very tight. Continue this until you reach you last post and tie it off. Now, start at that last post but on the other side of the crops and go back down the row so that there is string on both sides of the plants. As your crops get taller, you’ll want to add more twine to both sides about every six inches in height. Helpful hint: Do not use “natural” twines. They run the risk of breaking mid-season and your crops may collapse. Again, timing is key and waiting too long to trellis can make it harder to install, possibly damage crops, and will not be as effective.

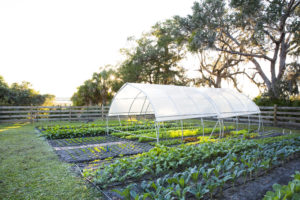
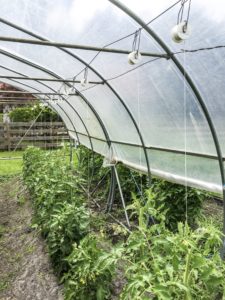
STRING METHOD TRELLISING

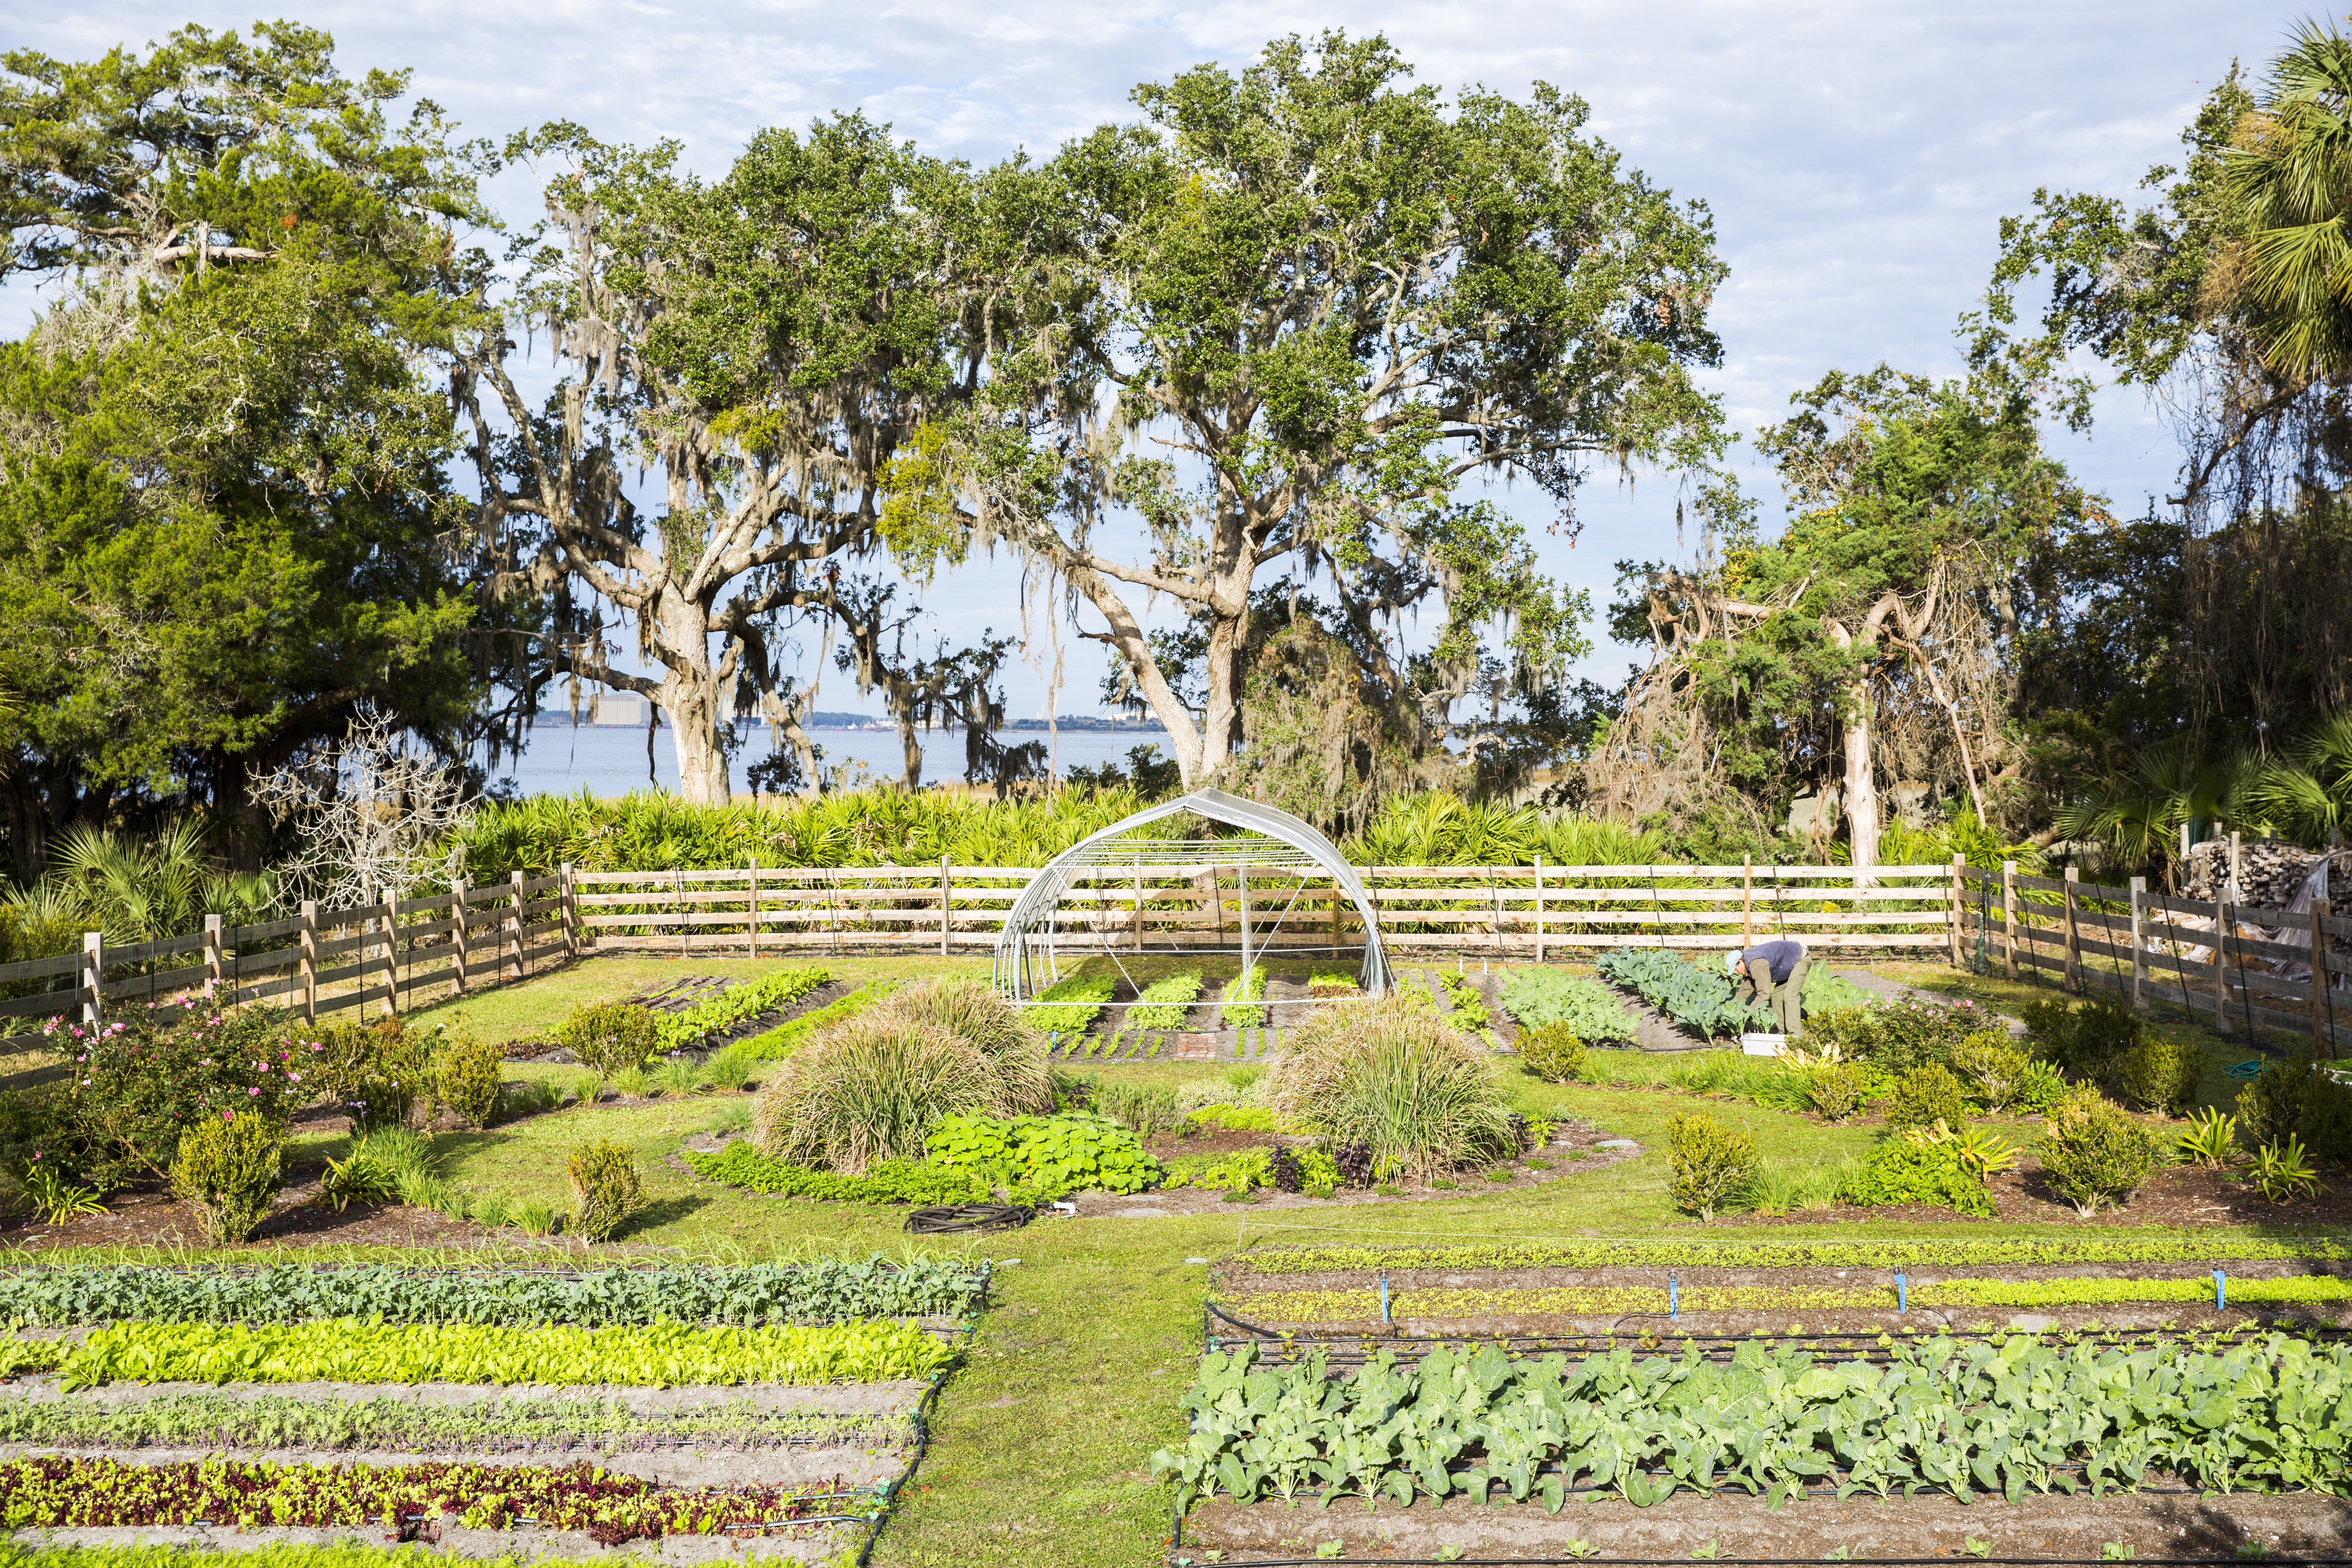
Our final trellis system is the “String Method” in our hoop house exclusively for tomatoes and cucumbers. A hoop house, or high tunnel, is a greenhouse-like structure covered in plastic that uses passive solar heating and venting to control the interior climate and create ideal growing conditions. For this method, we use thin metal cable, Rollerhooks from Johnnyseeds.com that have a spool of twine attached to a hook, and tomato trellis clips. In the hoop house, we install the cable running several feet above the row of crops to the end walls of the house. To make sure these cables are tight, use turnbuckles on either end. The Rollerhooks attach easily to the cable. Hang one above each tomato/cucumber plant. Pull the twine down to meet the base of the plant and use the clips to hold the stem of the plant to a taut trellis line. Now that you have a tight vertical string, you can wrap the stem or vine of the plant around the twine. You’ll need to continue to wrap the stem around the twine or add more clips at least once a week. If the plants ever reach the Rollerhooks, unroll more twine to drop the plants to the ground and they’ll continue to climb!

Now, you have a tall sturdy crop, fully supported and ready to harvest!

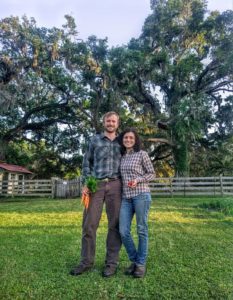
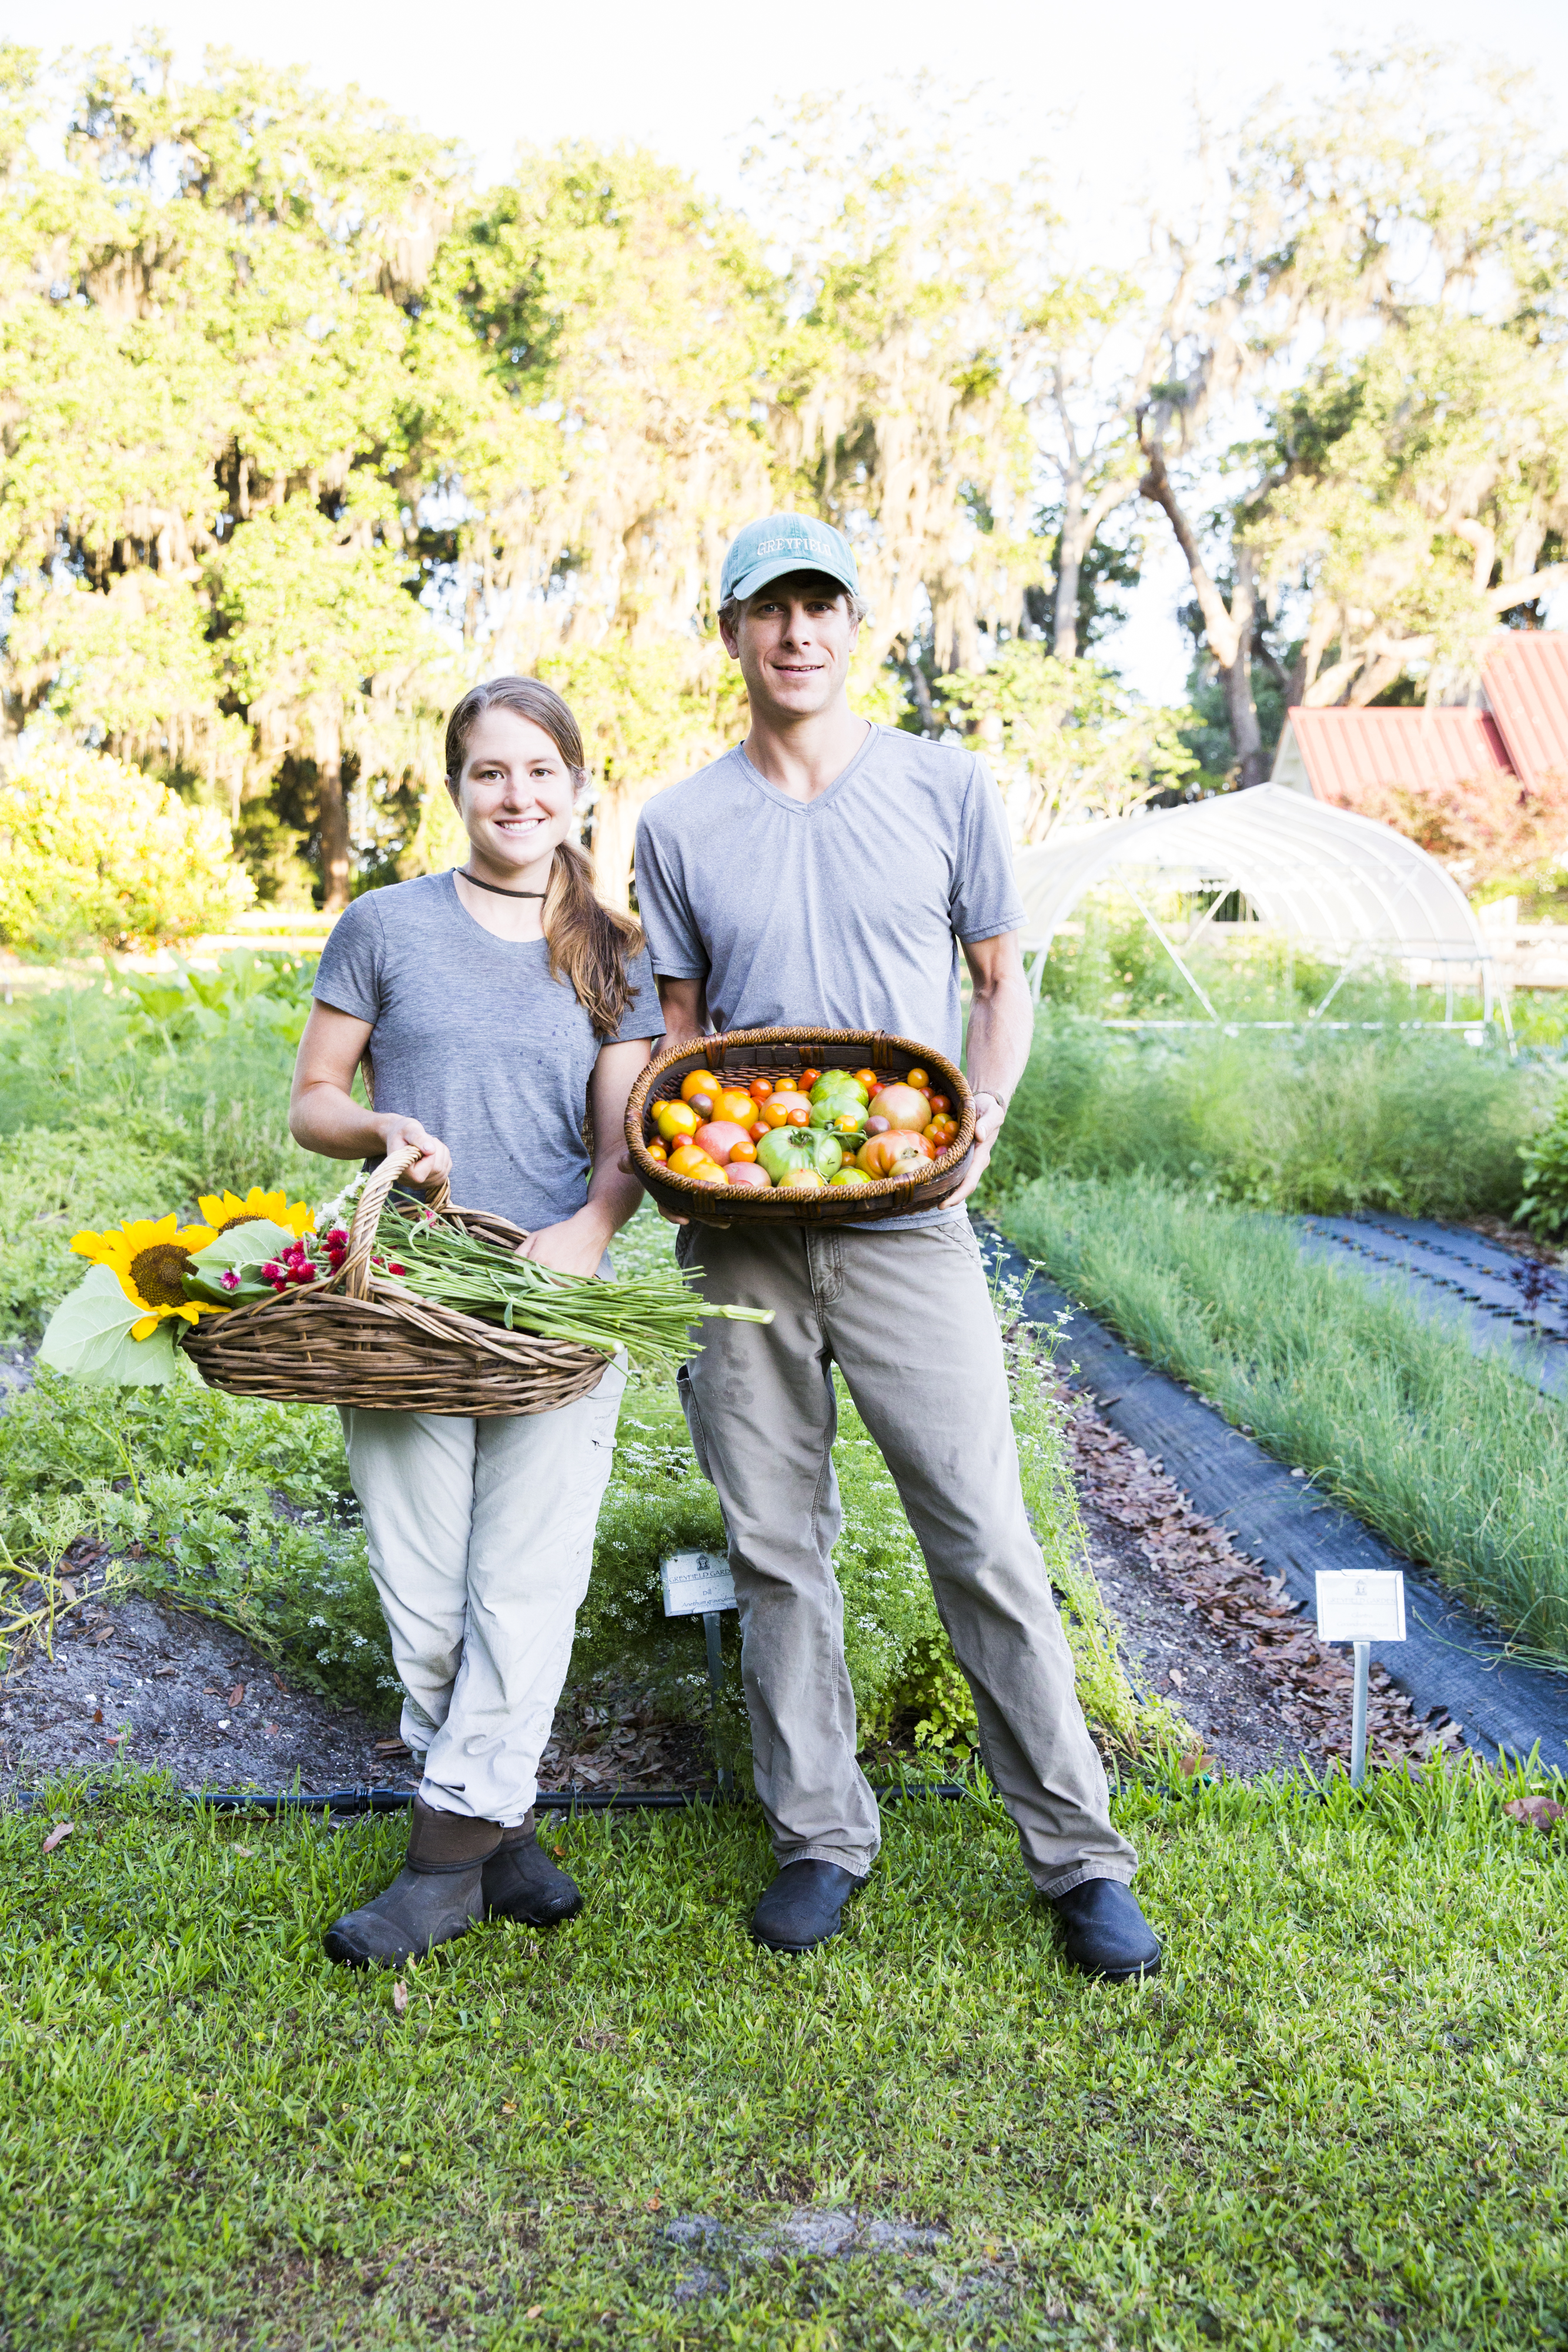
– Monica Ponce and Russell Honderd

Monica Ponce and Russell Honderd are the gardeners at Greyfield Inn. 

Signs of Spring in the Greyfield Garden

Spring has arrived on Cumberland Island and we are savoring every moment. We love the foggy mornings in the garden — harvesting greens and roots in the crisp air while hearing the sound of waves crashing in the distance. Spring is also a season of promise, and we see signs of renewal throughout the island landscape. The live oak trees drop their leaves and push out shiny green foliage that brightens up the forest. The citrus trees are in full bloom, filling the gardens with their fragrance. Our honeybees are busy gathering nectar from the native flora beginning to bloom throughout the island’s vast wilderness.

Blogpost-08 IJ2C7153

Spring is also a great time to garden on the coast. Our main growing season here is from October through June. Our mild winters make it possible to grow throughout the winter, and the arrival of spring is a time of bounty when cool and warm season crops overlap. We will continue to harvest our cooler season crops like lettuce and carrots, while also beginning to harvest our warmer season crops like squash, beans, and tomatoes. We overwinter flowers that cannot take the heat of the summer and the flower field is in full bloom with Snapdragons, Larkspur, and Bachelor Buttons. We will soon be clipping on classic summer flowers like Black-Eyed Susans, Zinnias, and Sunflowers. As things warm up, the diversity of crops in the garden begins to dwindle until we are left with okra, eggplant, and peppers that too will eventually succumb to the harsh summer heat on the Georgia coast.

Blogpost-01 IJ2C7022

As in the gardens, spring is also a busy time for the Greyfield Apiary. We work with our mentor, Pete, to assess the strength of the remaining hives that made it through the winter. This year our apiary suffered some losses, but we were able to purchase new bees to go into the season with a full apiary. Just this week, we put on our first honey supers that will soon be full of capped honey for extraction in August.

IJ2C6745 mayapetebees

As gardeners, 2017 is our third season growing on Cumberland Island and seventh year farming full-time. Gardening on a Barrier Island is surely one of the most challenging environments we have grown in. At times, the pests seem relentless, the sandy soil requires constant inputs, and of course the weather (like any place) is unpredictable. With all these challenges though, we are always pushed to learn, experiment, and adapt. We are always trying new plant varieties and experimenting with different growing techniques, which over time has made the garden a beautiful and productive space. Every year, we get a little bit better at growing in this environment and are looking forward to the season ahead — working and living on this beautiful island

IJ2C5191 Ryan maya

Greyfield Gardeners, Maya Velasco and Ryan Graycheck

Summer at Greyfield Garden

gardenAs spring turns to summer, the Greyfield Garden is bursting at the seams with ripe produce. Culinary Gardeners’ Ryan Graycheck and Maya Velasco are busy harvesting everything from heirloom tomatoes to fingerling potatoes, providing the culinary team with delicious ingredients used to feed the guests of Greyfield Inn.

IMG_7926Colorful swiss chard finish out the springtime harvest.

IMG_7924In early summer, the tomato plants start producing this sweet, juicy summer staple. By June these plants are filled with shades of reds and oranges in all shapes and sizes.

IMG_7920This variety of sweet red peppers includes Corno di Toro Rosso, Round of Hungary, Lipstick, and Jimmy Nardello.

IMG_7922

187Another summer favorite from the garden is summer squash and zucchini. Not only is the veggie featured in many seasonal meals, the blossoms can be stuffed with other seasonal ingredients.

IMG_7923From the June soil comes hearty fingerling potatoes.

IMG_7921Ice lettuce – these rare gems make beautiful garnishes on summer dishes.

Stay up-to-date on what’s growing in the Greyfield Garden by following them on Instagram at @GreyfieldGarden!


Tomatoes in all shapes, sizes, and colors

Tomatoes grow in a rainbow of sizes, colors, and flavors. Below is a description of how each tomato tastes based on its color.

High acid: red, green, purple, brown
Medium acid: orange, yellow, pink
Low Acid: white, larger bicolors

Red: Red tomatoes are often very acidic and are an excellent choice for canning or making sauces. They tend to be some of the juiciest tomatoes and can be used in the kitchen in so many different ways.

Purple and Brown: These tomatoes tend to be complex, intensely flavorful, and flat out delicious. The depth of flavors are sweet and earthy and are excellent for salsas and sauces or just eating plain.

Green: These tomatoes tend to be a bit sweeet with a very full, rich flavor and closely resemble the taste of red tomatoes. They are also great in sauces and salsas.

Orange: The golden-hued, sunny varieties burst with a sweet citrus flavor. They are excellent for use in gazpachos

Pink: These taste very similar to red tomatoes but are typically a bit milder and sometimes sweeter. These are also a great choice for folks who prefer a lower acid tomato.

Yellow: These tomatoes have a bit of a citrusy taste, with a hint of lemon and tend to have a low to medium acidity. They are great for salads or used to add color and a citrusy flavor to salsas.

Striped: These varieties are typically low in acidity and have a fairly high sugar content. They also tend to bear very large fruits (especially the German and pineapple varieties) and are a delight to grow and eat.

White: These are a great variety for folks that can’t handle the acidity. These are a great choice for fresh eating and are very mild. Due to their low acidity they are not a prefered tomato for canning